Last Updated on 10 months ago by Priyanka Handique
Are you fond of handmade ornaments? Have you ever tried experimenting with Creative DIY ideas? No, then this is the right time to do something unique. Handmade Ceramic Jewelry such as bracelets, earrings, rings and pendants is an aesthetic way to create wonders.
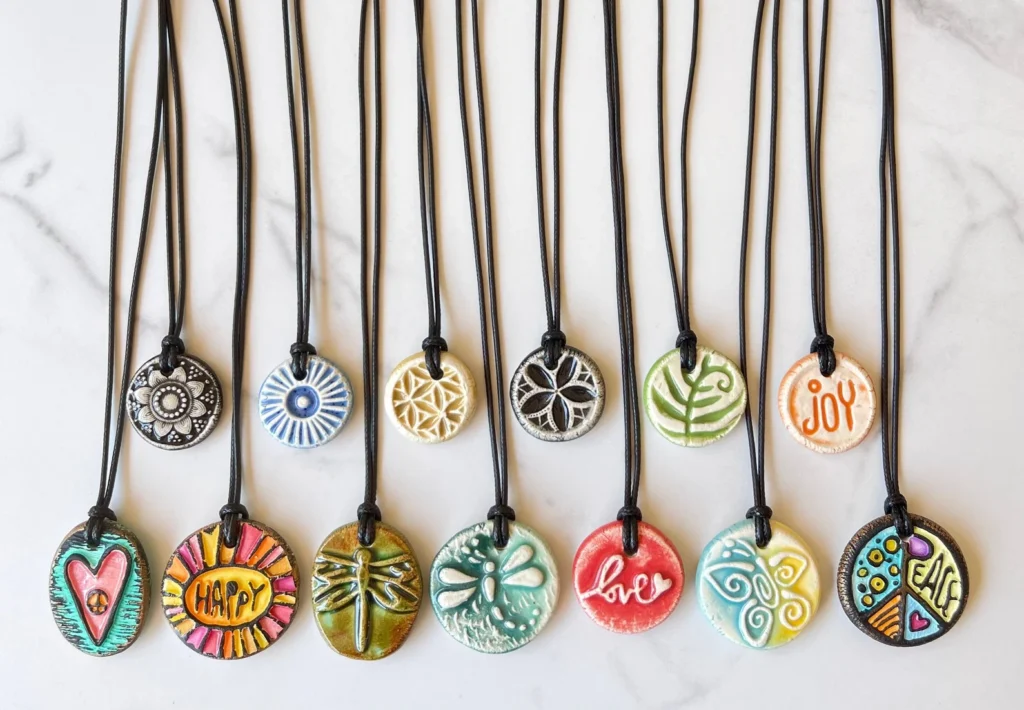
Here are certain factors you need to understand while creating beautiful ceramic Jewelry.
- Selecting the right clay for your preparation
- Sketching amazing designs
- Different techniques involved
- Giving accurate detail, shape and texture
- Firing and glazing techniques
- Final touches
Let us go through each one of these in detail:
Selecting the right clay for your preparation
High-fire clay, low-fire clay and polymer clay are the options to choose from.
- High-fire clays
High-fire clays require preparation at temperatures between 1000°C to 1305°C. If you want your Jewelry to look fantastic, then go for this clay. Jewelry like beads and pendants work well with high-fire clay.
- Low-fire Clays
Low-fire clays are better options if you need intricate designs and small details on your Jewelry. The temperature used is between 1650°F and 2000°F. These types stand out for their artistic glaze and vibrant designs.
- Polymer Clay
Polymer clays can be used to design your Handmade ceramic Jewelry at home. They are baked at 225°F. Use your kitchen oven for baking. While handling this clay make sure to remove the bubbles.
Sketching Amazing designs
Sketching allows you to capture intricate shapes and designs. Just the way you design on paper same way you can create fantastic designs, to begin with.
Create some prototypes
After sketching part let’s move on to creating a modern prototype. This step helps with customization and honing the final product before its creation. Try using unpolished brass and bronze to give a professional feel to your art.
Different techniques involved in Handmade Ceramic Jewelry
- Cutting
Roll out the clay and cut them into different pieces with cutters. Keep in mind the purpose, size and function before cutting every piece of clay.
- Press moulding
Press moulding helps give a uniform shape to ceramic necklace pendants and ceramic earrings. Use press moulding when you need to make identical jewellery shapes.
- Stamping
Stamping allows the clay to press into beautiful shapes and sizes. You can create alluring handprints with the help of stamps.
- Extruding
The clays are given brittle forms using a mechanical process. Create the same shapes and sizes using the extruding process.
Giving Textures and minute details
Use doming blocks, engraving tools and hammers for texturing and laying out. Wireloops helps to enhance the quality of handmade ceramic Jewelry. Even metallic and gold paints help to give a glossy finish to your Jewelry.
Using Fire for Ceramic Jewelry
Uisng fire can bring your creations to life. Use Glaze and Bisque firing techniques. Both this techniques will help enhance your Jewelry and give a proper shape to it.
Glazing techniques
Dip, spray and Hand glazing can help create unique patterns and colours for your Jewelry. This will make your ceramic Jewelry visually appealing to the eye by giving it a proper shine.
Assembling the Handmade Ceramic Jewelry and giving the Final touches
Apply metal findings to your Ceramic piece to make it sturdy and well-built. This includes drilling, sawing and incorporating metal components. Finally, give a gold lust paint to keep the Jewelry shiny and protected for a long time.
Now let’s move on towards Creative DIY Ideas to Try at home with Ceramic clay.
1. Beautiful Shiny Pearly Ceramic Earrings
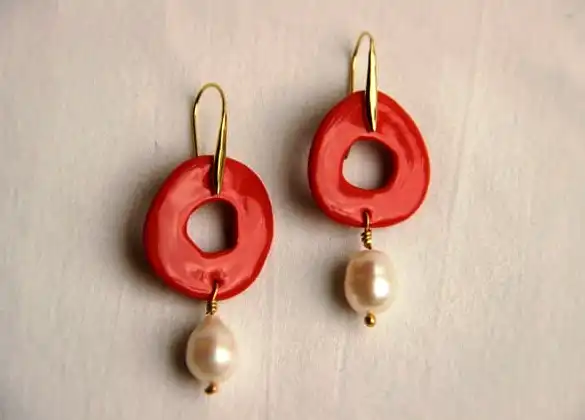
If you are a real fan of earrings then you must try making this classy looking earrings.
Preparations:
- Take a set of polymer clay
- Flatten it using a rolling pin
- Keep beautiful-looking stamp designs of your choice
- Apply white glue on top of the stamp paper
- Layer it out and spread it evenly all over
- Take small mould cutters and cut them into different shapes.
- Apply the fire technique and bake it.
- Then attach a metal component for sturdiness
- Give final touches to it.
2. Elegant looking Ceramic Pendants
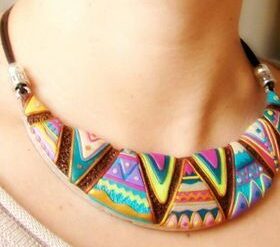
Pendants look beautiful on every woman. It is a sign of royalty and pride. Here is a DIY to create a cute one for yourself
Preparations:
- Use high-fire clay for this pendant making and roll out the clay with a rolling pin.
- Cut different shapes and sizes using a mould cutter
- Apply the Bisque fire technique for shaping your ceramic necklace pendant
- After cooling the pendant apply the glaze of your choice
- Give final touches to your pendant using metal chains.
3. Ceramic Slab Cut Bracelets
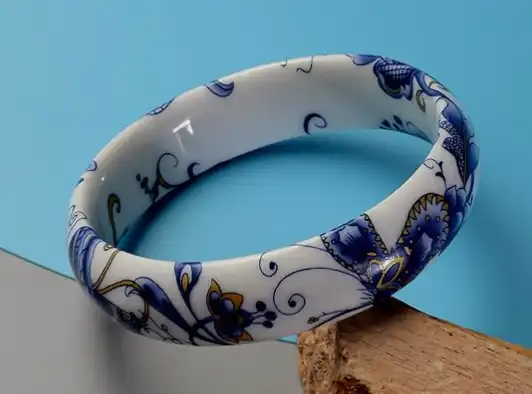
Bracelets are ornaments adored by people of every age. They wear it with love. Here is a quick guide on how to prepare a ceramic bracelet out of scratch.
Preparations:
- Take high-fire clay or polymer clay and flatten the clay using a rolling pin
- Measure and cut out each slab of clay with precision
- Take a scale and measure the length and breadth to get accurate results
- Create designs of your choice on the slab
- Cut 8-9 pieces of ceramic clay slabs evenly
- Repeat step 5 on every slab
- Let the clay dry for 6 hours
- Smooth out the edges
- Bake it over high temperatures
- After 18 hours the clay is ready to glaze
- Apply glaze firing technique at 1000 degrees Celsius
- After the cooling process, take a string and place the slab in the middle
- Tie the string and your DIY Ceramic Slab bracelets are ready to use
4. Classy-looking Handmade Ceramic Jewelry Earrings
Ceramic earrings are something to die for. They are smooth, refined Jewelry that even kids and teens adore. Take a quick look at its preparation techniques.
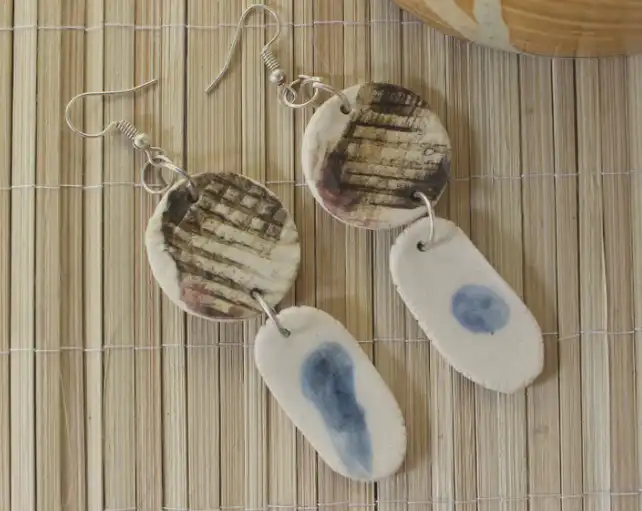
Preparations:
- Take polymer clay for ceramic earrings, cut and smoothen it.
- Leave it on printer paper for a couple of hours.
- This will allow extra oil to seep out and soak into the paper.
- Remove the paper and again roll the clay to make it even softer.
- Avoid any bubble traps and remove them using an incision or a knife.
- Take moulds of various shapes and cut the clay as per your interest.
- Make a small cut inside the shapes using a circle cutter.
- To induce even baking, manifest small holes into the clay using a pointy tool.
- Bake the ceramic earrings at 275 degrees Celsius for 30 minutes.
- After the baking process, hop on to jump rings and tie them on the handmade ceramic earrings.
- Join the earring as per choice using jump rings.
- Apply adhesive on the top of the earring.
- Your DIY earring is ready to wear.
Note:
- You can also use shells from beaches and use them as moulds.
- Use different innovative ideas to glaze your creation.
5. Adorable Silver Clay rings
Rings are a work of precision. You have to be very creative with designs and inculcate ideas that will flaunt your ceramic rings.
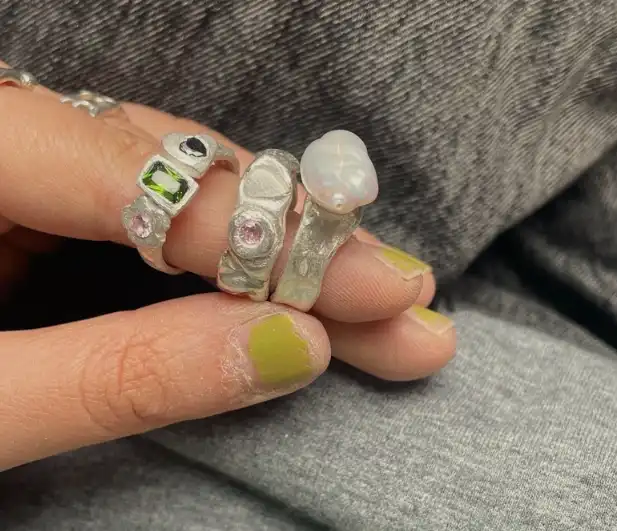
Preparation:
- Roll a small quantity of high-fire clay.
- Measure it using a scale instrument.
- Prepare different ring sizes for every hand.
- Create small bows, designs and shapes using your imagination
- Bake the clays at high temperatures mainly 1000°C to 1305°C.
- Using spraying glaze to enhance and make it visually appealing.
- Make adjustable rings to fit every size.
6. Pretty Handmade Ceramic Bead Bracelets
Bracelets are attractive, especially for kids and teenagers. Small children’s crave for it while adults love to replenish their nostalgic childhood memories.
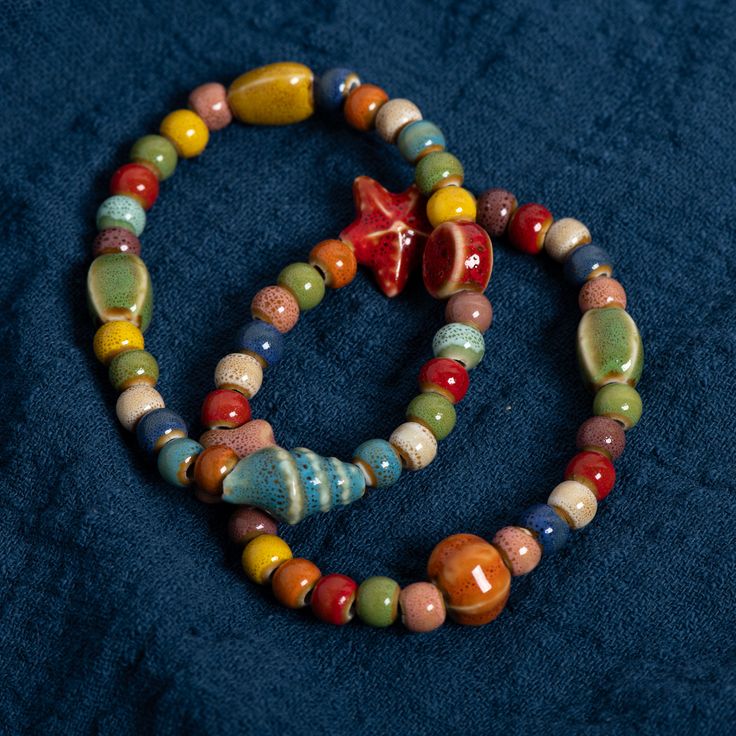
Preparation:
- Take polymer clay and flatten it.
- Make small balls and pierce small holes in the middle of the bead using a sharp tool.
- Make a small quantity of over 10 beads in each ceramic bracelet Jewelry
- Dry the beads and smoothen the edges
- Bake it under high temperatures
- Allow the beads to cool down
- Apply the glazing method
- Choose a string of any colour
- Tie a knot from one end and fill the beads from another
- After the whole process ends, tie a knot on the other end to lock the beads.
- Use it as a gift option or you can even sell it in your local market.
7. Comfortable Hypoallergenic Earrings
Many people look for comfort over price. Hence, creating a Jewelry piece that is free from skin allergies is important. Here is a quick preparation on creating such type of beautiful gems.
Preparation:
- Go for polymer clay which is generally safe
- Consider flattening them over.
- Cut them into shapes and sizes as per your desire.
- Consider using nickel-free high-temperature stamen wire to use as jump rings
- Go for materials that contain oeko-tex-certified hypoallergenic components to ensure safety.
- Bake it over high temperatures.
- Cool it down and apply nickel-free high-temperature stamen loop wires to the ceramic earrings.
- Glaze it using dip or golden lust sprays of your choice
- Flaunt yourself with these graceful-looking Hypoallergenic Earrings.
Conclusion:
Creating Handmade Ceramic Jewelry is a rewarding process. It allows you to personalize your unique creations. By selecting the right clay, applying different techniques and giving your own essence to your ceramic Jewelry can work wonders. From making ceramic earrings, bracelets, rings or pendant, you will definitely cherish the final gem you have created.


